Device Manager lets you inspect the devices Windows has detected and the drivers associated with them. Its General, Driver and Details tabs answer different questions: what status Windows reports, which driver information is recorded, and which identifiers describe the device. This article explains how to read those fields without changing their settings. A normal status message is not a complete hardware health assessment, and a driver date is not necessarily an installation date. The goal is a useful record of the current configuration, not a diagnosis.
The Role of Device Manager in Windows 11
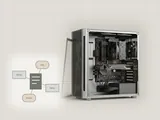
Device Manager functions as an essential bridge between physical hardware and the operating system. It communicates directly with the kernel—the core layer of Windows that manages system resources—to identify every device installed on the motherboard, connected through external ports like USB, or integrated into the system bus. Every component is represented by a specific driver, which acts as a translator, allowing Windows to understand how to interact with that individual piece of hardware. This translation process is what ensures peripheral equipment, internal storage, and processing units operate synchronously within the OS.
Beyond mere listing, Device Manager serves as a diagnostic reporter that pulls real-time information from the system firmware. When you inspect a device, the window aggregates data regarding the device's bus location, its power state, and its compatibility status. This level of granularity is important because it transforms an abstract hardware component into a defined entity with verifiable attributes. For users, this means the difference between knowing a device is 'present' and knowing exactly how it is configured, which version of software it uses to communicate, and whether the system identifies it as a healthy, active participant in the computing environment.
Accessing Device Manager Safely
Windows 11 offers multiple intuitive paths to launch Device Manager, allowing users to choose the method that best fits their workflow. The search functionality within the Start menu is the most direct and reliable method for quick access. Alternatively, for users who prefer a more administrative or hierarchical system view, the Computer Management console provides an integrated entry point. Regardless of the chosen entry path, the resulting interface remains consistent across all modern Windows environments, displaying the same underlying hardware database. This consistency is intentional, providing a reliable diagnostic experience regardless of the user's technical preference for navigation.
- Press the Windows key on your keyboard to open the Start menu interface.
- Type 'Device Manager' into the provided search field to filter the available applications.
- Click the top search result labeled 'Device Manager' to launch the primary diagnostic window.
- Alternatively, right-click the Start button and select 'Device Manager' from the context menu if your system environment configuration supports this accelerated navigation method.
- Observe the hierarchical tree structure that populates the main viewing window upon opening.
- Expand a specific category by clicking the small arrow icon located next to the category name to reveal the nested hardware instances.
- Right-click any specific hardware entry and select 'Properties' from the resulting menu to open the detailed diagnostic tabs.
Analyzing the General Tab
The General tab serves as the primary status report for any selected piece of hardware. It is here that you find the 'Device Status' field, which is critical for identifying potential communication issues between the hardware and the operating system. If a device is functioning as intended, it will display a text indicator stating that the device is working properly. However, if an issue exists, this space provides specific error messages or alphanumeric codes that categorize the nature of the obstruction, such as power conflicts or missing initialization routines.
Beyond status, the General tab identifies the device type, its manufacturer, and its physical location, providing necessary context for the component's role in your computer's architecture. This serves as a vital baseline check during an audit. If you encounter a yellow warning icon, it indicates that the system has flagged a notable anomaly, which may signify a driver incompatibility, a resource conflict, or an incomplete installation, even if the hardware is physically present and powered. Understanding these indicators allows you to distinguish between hardware that is simply idle and hardware that is actively reporting a failure state.
The General tab also provides a summary of the device's power state if applicable. In some instances, it may show whether a device has been disabled by the user or if the system has placed it into a low-power mode to conserve energy. Reviewing this information helps clarify whether a lack of response from a device is due to a physical error or an intentional software-level power state setting, preventing unnecessary troubleshooting on functional hardware.
Interpreting Driver Tab Information
The Driver tab is the specific area where you inspect the software version that enables the hardware to communicate effectively with Windows. A driver is a specialized, low-level file that contains instructions for the operating system, and the information displayed here confirms whether your system is using a manufacturer-specific driver or a generic version provided automatically by the OS. This distinction is important for understanding the capabilities of your device, as manufacturer drivers often unlock specific features that generic versions may omit.
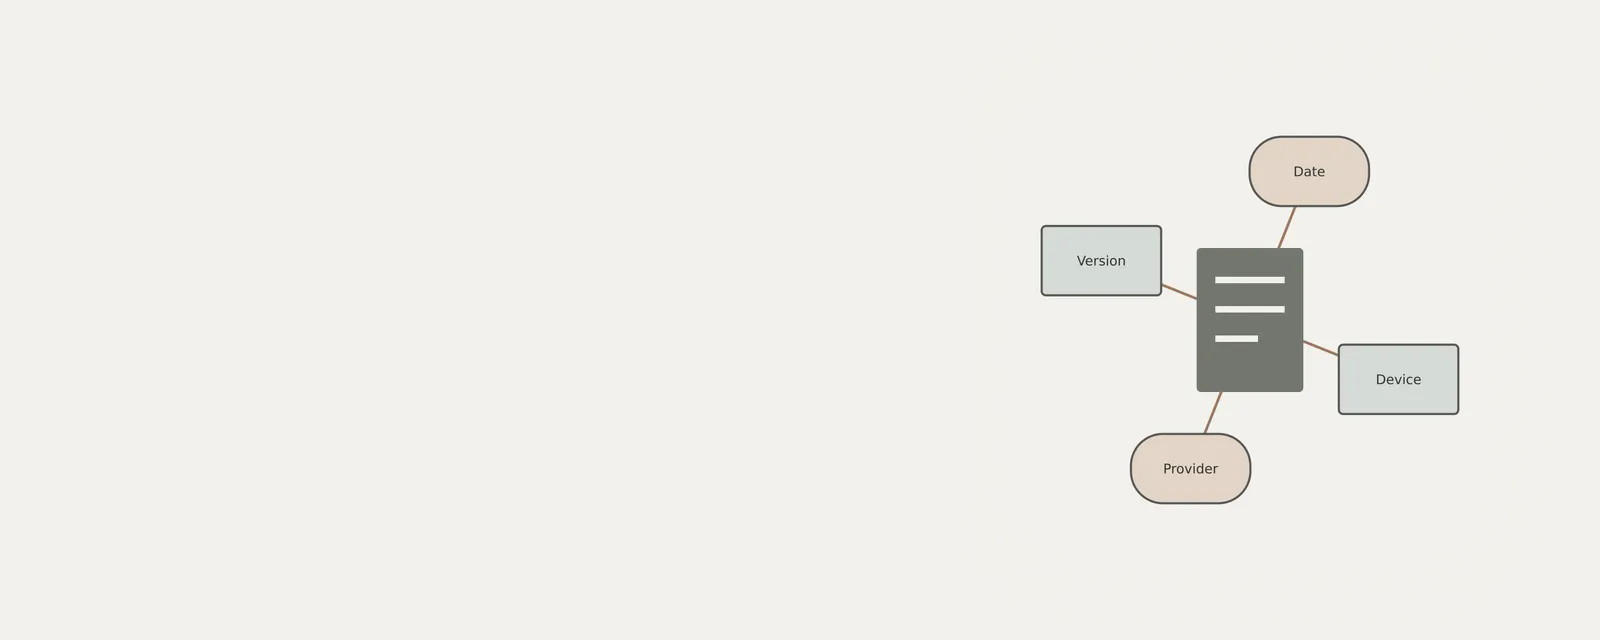
Key data points found here include the 'Driver Provider,' 'Driver Date,' and 'Driver Version.' These metrics are vital for professional-level inventory management. For instance, if you are documenting system specifications for future reference, these dates help distinguish between newer software implementations and legacy configurations that may require replacement. Observing these details helps you understand the software lineage currently governing your hardware, which is often a requested metric when documenting system compatibility for specific software suites or peripherals.
Furthermore, knowing the provider allows you to categorize components based on their ecosystem origin. A provider listed as 'Microsoft' suggests the device is running on standardized, widely compatible code, whereas a specific corporate name indicates a unique, component-specific package. This helps in cataloging the complexity of your system, allowing you to see which parts rely on standardized OS modules and which depend on proprietary third-party developments.
Utilizing the Details Tab for Technical Insight
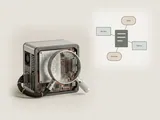
The Details tab is arguably the most powerful diagnostic area for advanced users performing deep system analysis. It features a dropdown menu labeled 'Property' that allows you to extract highly specific hardware identifiers, such as Hardware IDs, Compatible IDs, and Instance Paths. These long, alphanumeric strings are unique signatures for each piece of hardware, essentially acting as the DNA of the component within the Windows environment.
Hardware IDs identify device types and configurations, not unique physical units. While they specify vendor and device identifiers to the operating system, they serve as a reference for the type of hardware rather than a unique serial identifier. It is a strictly informational resource, perfect for identifying hardware versions without the need to physically disassemble the computer to inspect part labels, making it indispensable for remote auditing or when hardware is integrated into hard-to-reach internal bays.
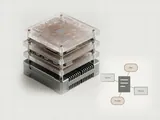
Users can also explore 'Parent' or 'Child' relations within the details menu to understand how hardware stacks. For example, you can see how a specific USB port is linked to a root hub, which is then linked to the motherboard chipset. By traversing this tree, you gain a structural understanding of your system's data flow, which is useful for diagnosing bottleneck issues where multiple high-bandwidth devices might be sharing the same internal pathway.
Boundaries of Diagnostic Inspection
It is imperative to recognize the inherent boundaries of these tools. Device Manager is an observer utility; while it clearly shows you the state of your hardware as reported by the OS, it cannot independently resolve physical hardware failures, broken cables, or electrical faults. For example, if a device has been physically disconnected from the chassis or has suffered a total power failure, the utility will likely remove it from the list entirely or mark it as 'hidden' or 'missing,' indicating that the kernel no longer detects its presence on the bus.
Furthermore, viewing device properties is not a substitute for comprehensive system diagnostic software. It provides the 'what' and 'who' of your hardware environment but offers limited insight into the 'why' of complex performance fluctuations. Stick to the role of a data gatherer. Attempting to force changes or override settings within these properties without specific technical knowledge can lead to unintended operational errors, such as a device becoming unresponsive after a misconfigured setting is applied. Therefore, keep your exploration strictly to reading, cataloging, and documenting data to maintain system stability.
Finally, recognize that some information shown might be legacy data held in the registry. If you replace a physical component, the old entry might occasionally persist in a 'hidden' state. This is why the 'Show hidden devices' feature exists—to allow you to clean up ghost entries that no longer correspond to physical items, keeping your inventory logs accurate and free of outdated historical data that could clutter your diagnostic efforts.
Worked Examples of Inventory Tracking
Consider a scenario where you are cataloging a high-end workstation's graphics capability for documentation. By navigating to the 'Display adapters' node, right-clicking the device, and selecting 'Properties,' you access the Driver tab to record the exact 'Driver Version' and 'Driver Date.' This tells you exactly when the current interface software was last validated against the hardware, allowing you to establish a baseline for performance. This record is invaluable if you later observe a regression in frame rates or rendering speed, as you can reference your log to see if a recent change altered the configuration.
A third example involves diagnosing a network issue. By inspecting the 'Network adapters' section, you can compare the 'Hardware IDs' of your internal Wi-Fi card against the 'Driver' tab version. If the driver date is several years old, you have identified a potential point of optimization. By using these tabs together, you move beyond simply observing that a device is present to understanding its full software-hardware lifecycle, which is the hallmark of a thorough, professional system audit.
Computer & System
Note these before you change anything
Useful facts to have to hand while reading about understanding device properties.
- Motherboard or computer model and firmware version
- Chipset driver package version
- Any firmware settings changed from defaults
- Unknown devices listed in Device Manager
Computer & System: One selected path: a device on a chipset bus
- Operating systemmanages devices
- Chipset driversidentify buses and power features
- ChipsetPCIe, USB and SATA links
- Firmware (UEFI)initialises hardware at start-up
- Attached deviceson those links
Frequently asked questions
Is Device Manager entirely read-only?
No. It includes controls that change drivers and device states. Opening a device’s properties and reading the fields is an inspection task, but nearby buttons can make changes. Stay with the tabs and viewing commands described here, and close the window when you have recorded the information.
Does a normal device status prove the hardware is healthy?
No. It describes the status Windows currently reports for that device. It is not a comprehensive test of every hardware function, cable or application. Record the exact wording and distinguish it from any separate behavior you have observed during ordinary use.
Why is the driver date older than my computer?
The displayed date is package metadata, not necessarily the date the package was installed or the hardware was made. Some Microsoft packages use deliberately old dates for selection behavior. Read the version and provider alongside the date instead of judging suitability from age alone.
Does the provider name identify who made the computer?
Not necessarily. The driver provider, component designer and computer manufacturer can be different organizations. A provider name also does not conclusively distinguish a generic package from a customized configuration. Use the exact device and computer documentation when interpreting the recorded driver information.