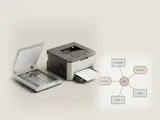
An all-in-one printer combines several functions in one enclosure, but Windows may represent those functions separately. Printing can work while scanning is unavailable, and a single cable does not guarantee that every application can use every feature. This article explains how to identify the printing and scanning entries, compare their connection details, and record the capabilities exposed by existing applications. The aim is to understand the device you have, without removing queues, changing drivers or assuming that a missing option has one particular cause.
Categorizing Multifunction Peripherals
Modern peripheral hardware often bundles disparate functions—printing, scanning, and sometimes faxing—into one physical unit. In the architecture of Windows 11, these devices are grouped under the Printers & Scanners category. It is a frequent point of confusion that a multifunctional peripheral may be categorized by its print function during initial discovery, potentially hiding its scanning capabilities within secondary menus. Understanding this classification is crucial because the operating system maintains a logical separation between printing and scanning processes even when they originate from the same hardware controller. The operating system handles these as modular services, where the printing protocol and the TWAIN or WIA (Windows Image Acquisition) imaging protocol coexist independently within the device's logic.
A printer that also scans is not merely a single device; it is effectively two functional endpoints sharing a singular physical interface. When the operating system initializes the device, it establishes a communication protocol for each supported function. To effectively manage these, users must look past the primary device name and interrogate the available feature set within the system settings. This process involves navigating to the specific device management page to confirm if the scanner functionality is accessible and active. For example, if a device is initialized via a generic class driver, the scanner function might be suppressed or invisible, requiring a transition to a hardware-specific profile to unlock the full imaging suite.
Verifying Peripheral Status and Functionality
Before attempting to use scanning features, it is necessary to confirm that the hardware is correctly recognized and that its secondary scanning function is operational. This involves a systematic check of the device status within the operating system's settings menus. The goal is to confirm the hardware identifier exists within the system queue and that the scanner software interface is prepared to interact with the device. If the scanner is not visible, it often implies a failed handshake between the device’s imaging service and the Windows host system.
Labels within the Windows interface are descriptive, though they may shift slightly depending on the specific model of hardware identified. The following procedure ensures you correctly isolate the scanner function on a multifunction device. When checking status, one must ensure the device is not in a 'Power Save' or 'Sleep' state, as these states frequently drop the connection for scanning while maintaining the print spooler status.
- Access the Settings app on your computer.
- Navigate to the Bluetooth & devices section in the sidebar menu.
- Select the Printers & scanners option to view the list of recognized hardware.
- Locate your multifunction device in the displayed list and select it to expand its specific management controls.
- Observe the available options; a multifunction device with scanning capabilities will show a specific section or dropdown labeled Scanner settings or similar descriptors.
- If the scanner option is absent, the device may not be recognized as an image capture unit, or the current driver configuration may not expose scanning features.
- Warning icons in the interface indicate that Windows recorded a problem, though this does not necessarily confirm a missing driver or a communication failure.
Interpretation and Hardware Boundaries
The identification procedure above distinguishes between basic hardware discovery and functional availability. If the Scanner settings menu is missing, it suggests that the operating system has either assigned a basic class driver that lacks scanning components or that the device is communicating over a port restricted to printing traffic. Users often mistake a successful print test for a functional scanner, but the two are independent operations. Printing uses a spooling system for page layout, while scanning requires an interactive session with the imaging acquisition service.
It is important to recognize that wireless interference or network configuration can also impact these functionalities differently. For example, a device on a different wireless subnet may remain visible to the printer spooler via broadcast discovery but become unreachable by the scanning subsystem, which often requires a more persistent connection. This is a common boundary in office environments. Always ensure the device and the workstation reside on the same network broadcast domain to maintain consistent communication across both scanning and printing endpoints. If the scan button in the app remains greyed out, check your network firewall settings or the specific IP assignment to ensure that the scanner host is not being throttled by port-filtering rules.
Utilizing Native Digitization Tools
Once you confirm the hardware is recognized as a scanner, the Windows Scan application becomes the primary interface for image capture. This application is a native tool designed to interface with standard scanning hardware. It provides a standardized environment for adjusting capture settings regardless of the specific manufacturer's model. Utilizing this tool is the most direct way to generate digital copies without relying on proprietary, bloated manufacturer applications. By using native tools, the user minimizes the risk of software conflicts between different hardware manufacturers.
The application relies on the system-level connection established in previous steps. If the scanner is correctly registered, it may appear in the application's source list. Checking the connection—be it USB or network—is a diagnostic step, though the provider or date of a package alone does not conclusively distinguish a generic from a customized package. Furthermore, the application provides real-time feedback during the scanning process, indicating if the device is currently busy or if the connection has dropped mid-transfer.
Configuring Capture Parameters
Configuring the scan ensures the output is saved in the desired format and location. The application provides specific controls for source selection, such as a flatbed glass or an automatic document feeder (ADF). Choosing the correct source is critical; attempting to scan from the feeder when the document is on the flatbed will result in an error or empty file. Always ensure the physical input corresponds to the source setting. For instance, selecting 'ADF' when no paper is detected will trigger a timeout error, forcing the user to re-initiate the scan command from the application interface.
The application further allows for the selection of file formats, including JPEG, PNG, TIFF, and Bitmap. Choosing the correct format depends on the intent; JPEG is ideal for photographs due to its compression, while PNG or TIFF is preferred for documents where character clarity and preservation are higher priorities. By default, the application saves these files in the Pictures/Scans directory unless otherwise specified during the configuration phase. Users can also adjust the color mode—Grayscale, Black and White, or Color—to optimize file size, especially when scanning high-resolution technical diagrams or multi-page financial reports.
Managing Digital Asset Storage
File management is an intrinsic part of the scanning workflow. Because digital scans can quickly consume storage space, it is good practice to periodically review the destination folder. The default location, usually within the user's personal file directory, can be modified within the Scan app's configuration settings to a more suitable location, such as a dedicated folder on a secondary drive or cloud-synced storage. Organizing these files by date or project name at the time of creation prevents the buildup of uncatalogued temporary files.
To locate these files, users must interact with File Explorer. Navigate to the configured storage path to verify that the files are named appropriately and reside in the correct location. This serves as a secondary check that the scan process completed successfully and that the data was written to the storage media without corruption. If files appear missing, re-verify the destination path selected in the scan app, as application updates sometimes reset the default directory to the system Pictures folder. Consistent management ensures that digital assets remain accessible for future document workflows.
Practical Worked Examples
Consider a scenario where a user needs to digitize a multi-page document using an automatic document feeder. The user places the papers in the feeder, opens the Scan app, and selects 'Feeder' as the source. They choose 'TIFF' as the file type to ensure high fidelity for text. The app executes the scan, and the user verifies the success by clicking 'View' in the app. If the user noticed the scanner was not listed in the settings, they would go back to the 'Printers & scanners' menu to confirm the device status. This iterative approach—verify connection, set source, execute capture, and confirm output—covers almost all operational requirements for standard imaging hardware.
Another example involves a user scanning a high-quality photograph using the flatbed. Here, the user selects 'Flatbed' as the source and 'PNG' as the file format to avoid the lossy compression of JPEG. By adjusting these parameters, the user manages the trade-off between file size and image quality. Additionally, setting a higher resolution (e.g., 600 DPI) for flatbed scans of photos provides better zoom capability later. These procedures highlight that effective hardware management is not about complex configurations, but rather about using the correct interface settings to command the hardware appropriately. Adhering to these established workflows does not guarantee stability or reliable results.
Printers & Scanners
Note these before you change anything
Useful facts to have to hand while reading about understanding all-in-one devices.
- Printer queue name and the port it uses
- Driver name: a built-in class driver or the maker's
- Whether the printer is reached by USB, IP address or name
- Default paper size and tray
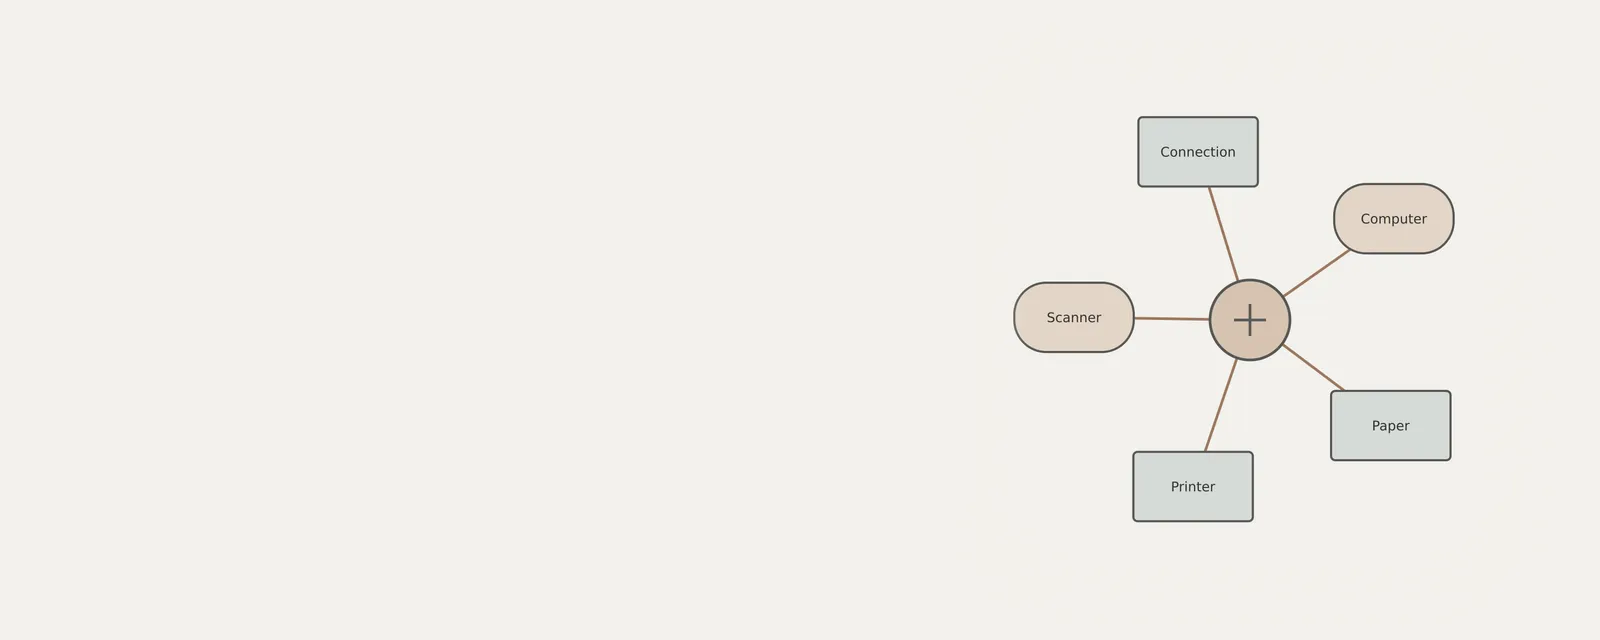
Printers & Scanners: One common printing path (scanning runs the other way)
- Applicationsends a print job
- Print systemqueues and renders
- Printer driverbuilt-in class or vendor
- ConnectionUSB or network
- Printerproduces the page
Frequently asked questions
Does one USB cable mean there should be one device entry?
No. One enclosure can expose multiple functions, and some products contain an internal hub. Windows may therefore show entries in different categories for the same accessory. Record the names and relationships rather than deleting entries just because the list appears longer than expected.
Are printing and scanning applications interchangeable?
No. A print dialog sends a document to a printing function; a scanning application captures an image from a scanner. A manufacturer application may combine several controls, but that does not make the underlying functions identical. Consult its documentation for the exact workflow you need.
Can the connection type affect which functions appear?
Yes, depending on the model and configuration. A device may offer different paths through USB or a network, and applications may discover those paths differently. Consult the device’s documented combinations. Do not infer full feature availability from the fact that one connection allows a page to print.