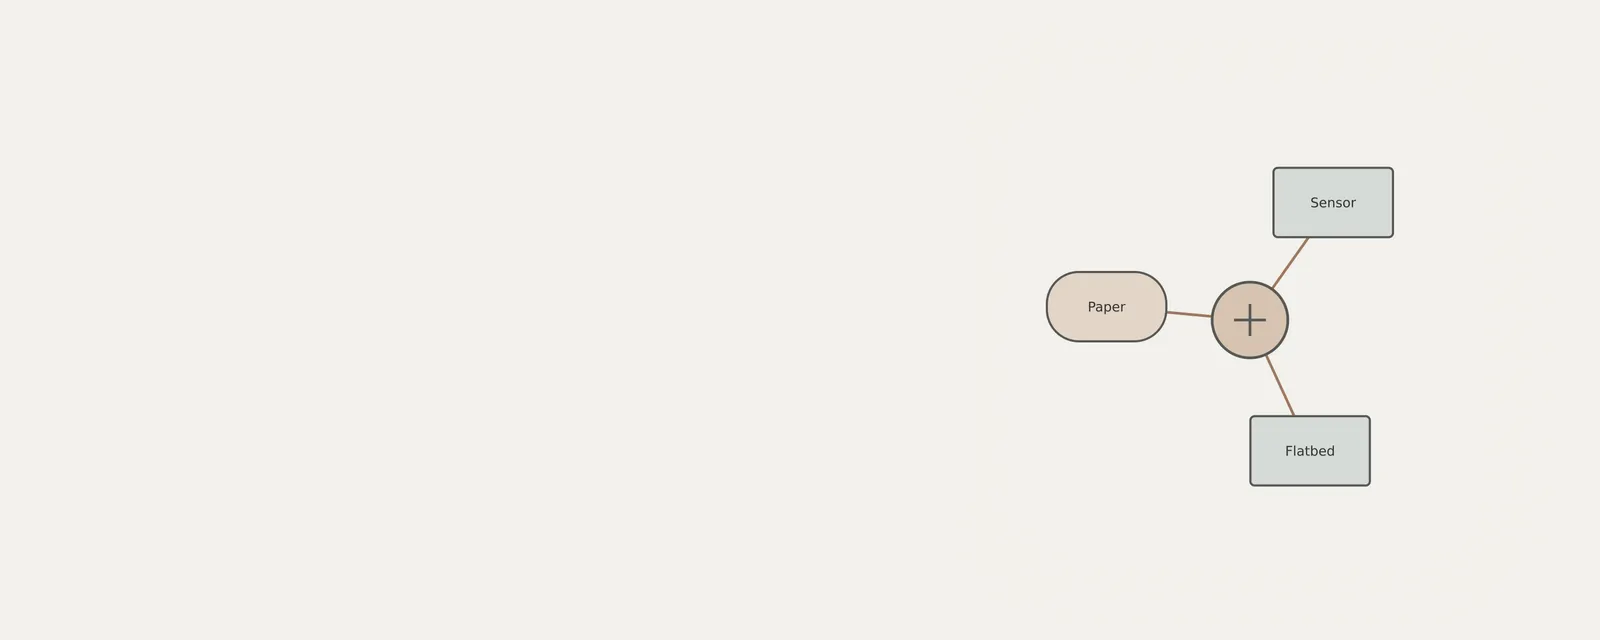
A scanner’s advertised features and the options shown by an application are not always the same thing. A flatbed, a document feeder and an automatic two-sided scanning mechanism serve different purposes, and not every scanner has all three. This article shows how to find a scanner in Windows, compare the available options with the manufacturer’s documentation, and record which functions you can actually use. Seeing a device in a list is a starting point, not proof that every imaging feature is available; a scanner listing does not prove full feature compatibility.
Understanding Scanner Hardware Categories
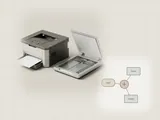
Hardware devices designed for imaging come in various configurations, which influence how Windows 11 manages input. A flatbed scanner features a glass surface where documents are placed stationary, typically allowing for precise placement of single pages, delicate items, or physical photos that require stability. Conversely, an Automatic Document Feeder (ADF), often found on integrated multifunction units, allows for the sequential processing of multiple pages in a stack. Some hardware incorporates both, offering users the flexibility to choose based on the specific media requirements or volume of the job.
When Windows 11 identifies these devices, it often labels them according to their primary function or manufacturer designation. In the context of the Windows settings interface, a single piece of hardware might be categorized as a printer if it is part of an All-In-One system, even though it possesses distinct scanning capabilities. Recognizing these distinctions is essential for selecting the correct source in your software, as the internal architecture of the device determines how it handles paper size, resolution, and orientation. For instance, if you are scanning a brittle or irregularly shaped item, the flatbed is generally the superior choice to prevent mechanical failure, whereas the ADF is optimized for standard-sized office documents where efficiency is the priority.
The internal communication between the device and the operating system is mediated by specialized drivers. While Windows 11 attempts to auto-configure these, knowing the specific hardware capabilities—such as the maximum optical resolution supported by the sensor—helps in selecting appropriate file types and quality settings within the scanning application. Matching the hardware's mechanical throughput to the software's input settings prevents common errors where the scanner may prematurely report an empty source or fail to capture the intended media, ensuring a smoother transition from physical asset to digital archive.
Verifying Device Presence and System Detection
Before attempting to digitize any document, it is standard practice to verify that the system has successfully cataloged the scanner. Windows 11 maintains a centralized repository of connected hardware, which can be accessed through the system settings. This inventory provides immediate confirmation of whether a device is online and available for tasks, effectively preventing wasted time spent troubleshooting a scanner that the OS cannot yet reach. System detection relies on the connection status of the hardware. For USB-connected devices, the physical port connection serves as the primary trigger for discovery. For network-attached hardware, the system performs a broadcast query to identify devices sharing the same local network, or SSID.
If a device fails to appear, verifying the physical power status and the integrity of the network connection is the primary diagnostic step. For network units, ensuring the device is active and configured to the same subnet as the PC is critical, as network isolation can prevent discovery even if the scanner is powered on. Users should also ensure that any necessary networking protocols required by the device manufacturer are active on the host machine to facilitate smooth detection across the local area network.
Procedure: Auditing and Confirming Scanner Availability
The following procedure details how to confirm that your scanning hardware is correctly recognized by the Windows 11 interface. This audit ensures that the system identifies both standalone scanners and those bundled within multifunction printing devices. Expected observations include the appearance of the device name in the list, or in the case of multifunction hardware, the availability of a 'Scanner settings' link after selecting the device. If the hardware is absent from this list, the system is not currently detecting it, which may suggest a need to check physical cables or network configurations.
After successfully locating the device, you should observe the 'Status' indicator, which should ideally read 'Ready'. If the status displays 'Offline', the system is aware of the device but cannot communicate with it, often resolved by a power cycle of the scanning unit.
- Ensure the scanner is powered on and connected to the PC or the local network.
- Open the 'Start' menu and select 'Settings' to open the system configuration panel.
- Navigate to the 'Bluetooth & devices' category in the left-hand sidebar.
- Click on the 'Printers & scanners' tile to view the list of installed hardware.
- Review the listed items; standalone scanners will typically be listed by their specific model name.
- For multifunction devices, select the hardware name from the list to reveal additional options.
- Look for a label or button titled 'Scanner settings' to verify options, noting that a scanner listing does not prove full feature compatibility.
- Close the Settings window once the device status is verified as active.
Interpreting Hardware Boundaries and Capabilities
Hardware boundaries are defined by the physical limits of the scanner sensor and the mechanical components of the document feeder. For instance, flatbed units are generally constrained by the physical dimensions of the glass bed, typically supporting A4 or Letter sizes. Document feeders, however, may be limited by the weight, texture, or thickness of the paper stock they can physically handle without jamming. Understanding these boundaries allows for better planning of scan jobs.
If a document exceeds the capacity of an automatic feeder, the flatbed is the appropriate alternative. Additionally, software settings within Windows 11 may present various options based on the driver's reporting of these capabilities. If 'Auto-configured' is selected, the application attempts to determine the best method, but manual override is often necessary for non-standard documents. For example, if you are attempting to scan a double-sided legal document, the application needs to know whether to pull from the feeder or if you intend to perform manual repositioning on the flatbed to ensure all pages are captured in the correct sequence.
It is also important to consider the 'File type' interaction with these hardware constraints. Higher resolution scans (measured in DPI) require more memory and processing time. If the system is struggling during a scan, reducing the resolution or selecting a lighter compression format can sometimes bypass bottlenecks caused by older USB transfer speeds or limited network bandwidth between the scanner and the computer.
The Workflow of Digital Capture
Once verified, the Windows Scan application acts as the primary interface for initiating the digitizing process. This application streamlines the interaction between the physical media and the digital file system. By choosing appropriate file types such as JPEG, PNG, or TIFF, users can tailor the output to the specific needs of the document, whether it is a high-resolution photograph or a standard text document intended for archival purposes.
The selection of a save location is a critical part of this workflow. Users should designate a clear directory to prevent files from being scattered within the default folders. Establishing a structured filing system at the start of the scan prevents management issues later, as the Windows Scan app can be configured to save directly to specific paths on the local drive, such as a project-specific folder in Documents. Proactive organization at the point of capture significantly reduces the time spent later searching for unorganized images or misfiled documents.
Managing Duplex and Specialized Scan Requirements
Duplex scanning refers to the capability of a hardware unit to capture both sides of a document in a single pass. This is a mechanical feature of the hardware, not an inherent function of Windows itself. If your hardware lacks a duplex-capable document feeder, the software cannot automatically capture the reverse side; manual flipping on a flatbed is required. This is a common point of confusion; always consult your device specifications to determine if the hardware supports single-pass duplexing or if it requires user interaction.
For complex documents, understanding the relationship between the hardware's mechanical throughput and the software's input settings is vital. When the hardware settings are correctly matched to the physical media—for example, setting the 'Source' to 'Feeder' when using an automated tray—the process is significantly faster and more reliable. Mismatches in these settings typically lead to errors where the software waits for input from a source that is currently empty, or pulls from the incorrect input mechanism, causing potential jams or feed errors.
Additionally, for items like photographs, scanning at a higher bit-depth or using lossless formats like TIFF, while consuming more storage space, preserves color accuracy and detail that might be lost in compressed formats like JPEG. Evaluating the end goal of the digital asset before initiating the scan will dictate the optimal settings within the application interface.
Organizing and Locating Digital Assets
After a successful scan, the digital file is stored according to the parameters set during the job execution. Using File Explorer, you can navigate to these storage paths to verify the integrity of the captured image. The standard practice of reviewing the output immediately after scanning ensures that quality expectations are met, such as resolution, color balance, and proper document orientation.
For power users, establishing consistent folder naming conventions within the chosen save destination simplifies long-term file management. Since Windows Scan provides an option to 'View' the document in the Photos app immediately after scanning, this serves as a rapid quality assurance step. Once confirmed, the file can be moved or renamed as needed for project integration. Utilizing features like batch renaming or creating sub-folders based on date or subject matter within File Explorer helps maintain a clear, manageable digital archive that scales over time as more documents are digitized. This structured approach prevents the common problem of file clutter, ensuring that every scan remains retrievable and orderly.
Printers & Scanners
Note these before you change anything
Useful facts to have to hand while reading about reading scanner capabilities.
- Printer queue name and the port it uses
- Driver name: a built-in class driver or the maker's
- Whether the printer is reached by USB, IP address or name
- Default paper size and tray
Printers & Scanners: One common printing path (scanning runs the other way)
- Applicationsends a print job
- Print systemqueues and renders
- Printer driverbuilt-in class or vendor
- ConnectionUSB or network
- Printerproduces the page
Frequently asked questions
Does a listed scanner guarantee every feature is available?
No. Detection shows that Windows recognizes an entry, but a particular application may expose only some imaging functions. Compare the options actually offered with the device documentation. Feeder modes, two-sided capture and other features can depend on both the hardware and the application.
How does a flatbed differ from a document feeder?
A flatbed places one item against a glass surface. A feeder moves suitable sheets through a paper path and may accept several pages. Check the model’s media guidance before using it: books, fragile originals, staples or unusual sheet sizes may require a different approach.
Does a document feeder automatically scan both sides?
No. Some feeders capture one side per pass, while others have a mechanism for two-sided scanning. The existence of a feeder alone does not establish that capability. Check the model specification and the options in the application before assuming both sides will be captured.
Can I infer optical detail from a large DPI option?
Not reliably. The application may offer processed or interpolated resolutions in addition to the scanner’s optical capabilities. Compare the documented optical resolution with the offered setting. A larger number can produce a larger file without adding the original detail you hoped to capture.