A safe update decision begins before installation. Identify the reason for the change, the exact device and current system, then compare the relevant package requirements. Prepare an appropriate backup and recovery route before applying the documented procedure, and test the same task afterward. These five stages reduce avoidable uncertainty; they do not make every change reversible or guarantee a result. A newer date alone is not a reason to replace a working component, while a relevant security requirement may justify action.
Verifying System Requirements and Purpose
Before modifying any component, determine whether the change is truly necessary for your specific requirements. Often, users attempt to address perceived performance lags or feature requests that may not actually be resolved by the alteration in question. Assess your current operating environment to confirm that the existing configuration is indeed underperforming or lacking the specific functionality you require for your daily workflows.
Comparing your existing version to the proposed requirement provides a clear baseline for decision-making. If your current setup functions reliably, weigh the risks of instability against the potential benefits of the change. This initial stage of careful evaluation prevents unnecessary modifications that could disrupt a stable system state. Only proceed when the requirement is clearly defined and matches the capabilities of your hardware configuration.
Identifying Hardware and Software Specifics
Precision in identifying your hardware is essential for selecting the correct compatibility match. General labels often hide significant differences between internal revisions of the same component. Use the system information tools available within your interface to extract precise model numbers and identifiers. Misidentification is the most common cause of installation errors, as incompatible components often manifest as unresponsive or misconfigured hardware once they are integrated into the system environment.
Check the exact requirements for the model and current system; architecture and build alone may be insufficient. Different OS versions have unique requirements for component handling, and what functions in one release may conflict in another. Document these details carefully to guide your subsequent search for appropriate packages. Taking the time to map your hardware IDs against documented compatibility lists reduces guesswork and helps prevent conflicts during the application phase.
Acquiring Validated Compatibility Packages
Locate packages exclusively from verified sources that correspond directly to your identified hardware model. Avoid relying on third-party aggregators that may bundle unnecessary utilities or offer outdated packages that lack recent stability improvements. For many integrated components, the primary operating system mechanisms provide the most reliable path for delivering current packages. These channels are engineered to verify that the files are appropriate for your specific OS architecture before the installation process begins.
When gathering these items, save them to a directory that is easy to locate should you need to reference the original installer later. Ensure the file integrity by verifying it matches the documentation provided by the source. If you cannot find a direct match that explicitly lists your hardware and OS version, it is safer to defer the change rather than risking an incompatible installation. Diligence during this acquisition phase is the primary defense against unexpected system behavior.
Executing Secure Preparation and Recovery
Before applying any modifications, you must ensure that your current system state can be recovered if the outcome is not as expected. Establishing a known-good configuration point allows you to revert changes quickly without loss of critical files or system settings. While these mechanisms are not an absolute safety net, they provide an essential baseline for returning to a functional state if the new installation interferes with existing operations.
Verify your backup strategy to ensure your most important files are stored on external media. Having a physical copy of your data provides an independent layer of security. Only once you have confirmed that your recovery points are created and your files are backed up should you consider moving forward. This precautionary behavior creates the mental space to test modifications thoroughly, knowing that the existing system environment is protected from permanent disruption.
- Access the system configuration menu to locate recovery and backup settings.
- Initiate the creation of a new restore point specifically labeled for the pending change.
- Verify that the system confirms the successful completion of the restoration point creation.
- Back up your personal documents and critical project files to an external storage device.
- Disconnect non-essential peripherals to ensure a stable environment during the upcoming installation process.
Applying Changes and Validating Performance
With all preparations complete, execute the installation by following the provided documentation closely. Many installations require a system restart to fully integrate the changes into the hardware layer. During this transition, observe the system for any signs of errors or unexpected delays that might indicate a conflict. Do not rush the process; allow the OS enough time to initialize the new components properly as it loads during the subsequent reboot.
After the installation, perform a standardized test to confirm that the component is functioning as intended. If you are configuring a networking adapter, verify connectivity; for audio components, run a sound test. Document any differences in behavior compared to your previous state. If the performance is degraded or issues emerge, use your previously created recovery point to revert the system. Testing against a specific task provides a clear metric for whether the change met your original requirements.
Computer & System
Note these before you change anything
Useful facts to have to hand while reading about a five-step method for a considered update.
- Motherboard or computer model and firmware version
- Chipset driver package version
- Any firmware settings changed from defaults
- Unknown devices listed in Device Manager
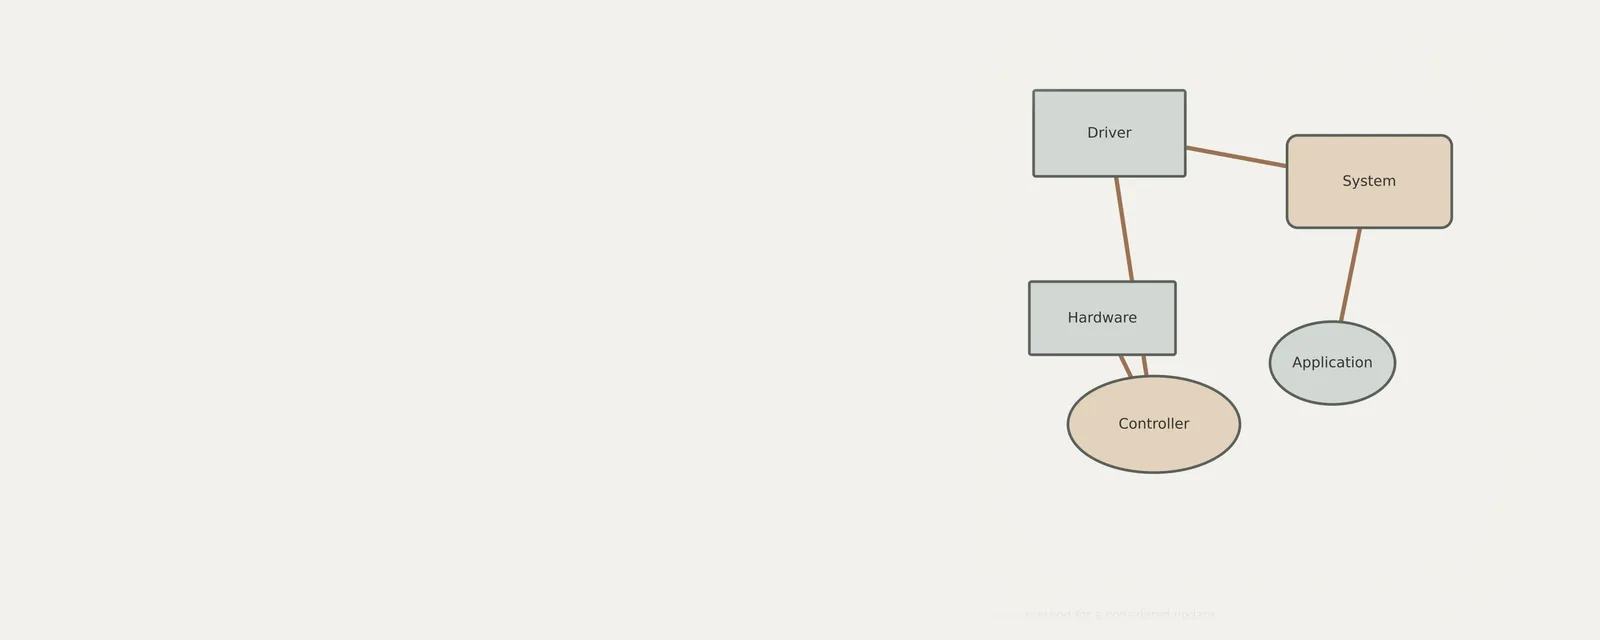
Computer & System: One selected path: a device on a chipset bus
- Operating systemmanages devices
- Chipset driversidentify buses and power features
- ChipsetPCIe, USB and SATA links
- Firmware (UEFI)initialises hardware at start-up
- Attached deviceson those links
Frequently asked questions
Why is it important to create a restore point before installing a new component package?
A restore point captures the state of your operating system at a specific time. If the new package causes conflicts or instability, you can revert the system files to this previous state, effectively undoing the change and returning to a known, stable configuration without manual troubleshooting.
Can I use packages found on general forums for my hardware?
Using files from community forums is risky because they may not be checked for your specific system architecture. Always source packages from the hardware manufacturer or the operating system provider. Matching the documented requirements reduces one source of uncertainty; it cannot eliminate regressions or system errors.
What should I do if the installation of a package causes system issues?
If you experience issues, use the recovery tools to revert to the restore point created prior to the change. If that does not resolve the issue, evaluate whether the hardware component needs to be rolled back to its previous state using the device management interface provided in your OS.
Are all OS-based automated tools sufficient for keeping systems running?
Automated tools manage many common requirements, but they are not infallible. They function best when your hardware is well-documented and standard. For specialized or older hardware, manual verification of compatibility and careful application of specific packages remains a more reliable method for maintaining a healthy and functional computing environment.