Disk Management shows physical disks, partitions and volumes in views that can look similar at first. Reading the wrong layer can lead to a mistaken conclusion about missing capacity or an apparently empty area. This article shows how to inspect the layout without changing it. Disk Management is not a read-only tool: it has destructive operations. Do not initialize, format, delete or resize anything during this exercise. If Windows presents an initialization prompt for a drive containing data, cancel it. A status label alone does not establish whether information can be recovered.
Conceptualizing Physical Disks and Logical Volumes
To interpret the storage layout, one must distinguish between the physical medium and the logical structure. A physical disk is the tangible hardware device installed inside or connected to the computer, which the system identifies as Disk 0, Disk 1, and so on. These physical units represent the total capacity of the storage hardware.
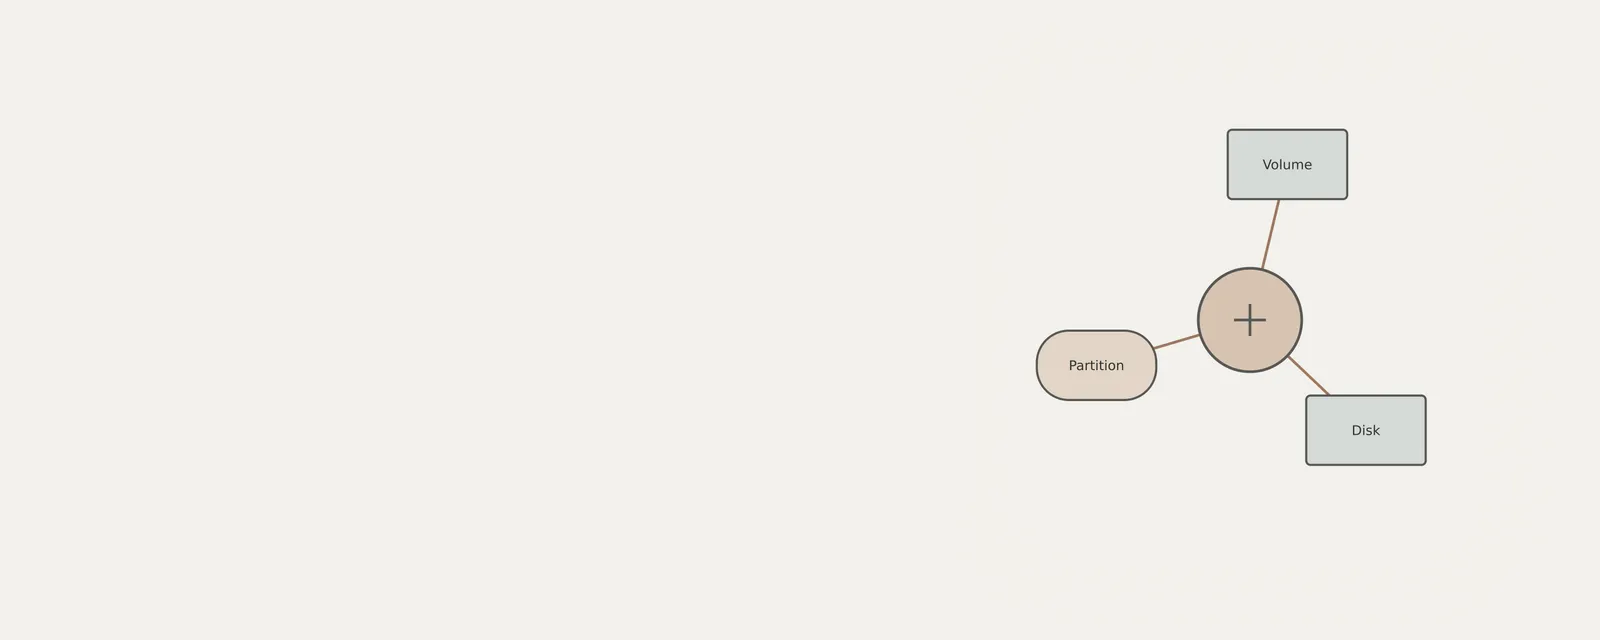
The relationship between these two entities is hierarchical. The physical disk serves as the container, and the volumes represent the subdivided areas within that container. Understanding this distinction is vital, as modifications are typically performed on the volume level, whereas status monitoring often occurs at the disk level.
When viewing the Disk Management interface, these elements are categorized differently. Physical disks are generally listed on the left side with status labels, while volumes occupy the graphical representation area, displaying bars that represent the layout of primary, extended, or logical drives. Recognizing this spatial arrangement helps users avoid errors during inventory tasks.
Navigating the Disk Management Environment
Accessing the Disk Management utility is straightforward, as it is a standard component of the Windows 11 operating system. The most efficient method for gaining access involves using the power user menu, which is triggered by right-clicking the Start button. This action generates a list of administrative utilities, among which Disk Management is prominently displayed.
Alternatively, users can utilize the Windows search feature. By typing the relevant terminology into the taskbar search box, the system returns a shortcut to the management console. Regardless of the entry point, the tool consistently presents the same data, ensuring that the visual layout remains stable across different versions of the operating system.
Upon opening the interface, the window is divided into two primary panes. The top pane provides a list view of all volumes, including their status, capacity, and file system format. The bottom pane offers a visual map of the disks, showing how space is allocated across the storage hardware.
It is crucial to remain mindful of the read-only approach during navigation. Clicking on items within the console is necessary for selection, but users should strictly avoid interacting with contextual menus that allow for structural changes. By limiting engagement to selecting and viewing properties, the integrity of the data remains secure throughout the session.
The interface also provides details regarding the status of each drive, such as whether it is online, healthy, or has specific layout configurations like GPT or MBR. These indicators provide a complete overview of the current storage state, allowing for effective documentation of the system configuration without requiring complex software or commands.
Visual Indicators and Status Definitions
The Disk Management interface employs specific color-coding and status labels to inform users about the state of their storage. Healthy is a layout/volume status, not proof of hardware health. If a status displays differently, such as a warning or a request for initialization, it is important to understand what these signify.
Initialization refers to the process of assigning a partition style to a raw, unused disk. GPT (GUID Partition Table) is the modern standard for recent hardware, offering compatibility with large drives and advanced firmware features. MBR (Master Boot Record) is the legacy standard that limits the partition count and total size, usually reserved for older hardware environments.
The file system, such as NTFS or exFAT, determines how data is managed within the volume. NTFS is the standard for Windows-based internal drives, offering security and metadata capabilities. exFAT is often used for portable media where compatibility with other operating systems is required. These labels appear within the graphical representation of each volume.
Capacity markers are also provided, showing the size of the volume compared to its total disk space. Seeing these values in megabytes or gigabytes allows for quick calculation of free versus used space. This visual inventory is essential for managing storage resources efficiently.
Finally, the drive letter—the specific identifier such as C: or D:—is displayed for each accessible volume. By observing these letters, one can easily map the internal organizational structure of the computer, providing a snapshot of the storage environment at any given moment.
Inventory Procedure for Disk Layout Analysis
The following procedure outlines how to safely inventory disk layouts without making structural changes. Always prioritize observation and documentation over interaction. If you notice unexpected labels, proceed with caution and only interact to view standard property dialogs.
Labels and menus may vary slightly based on specific system configurations, but the fundamental structure remains constant within the Windows 11 environment.
- Right-click the Start button to reveal the hidden menu and select Disk Management.
- Observe the bottom pane to list all physical disk units currently detected by the system.
- Review the leftmost column to confirm the status of each physical disk, ensuring all necessary hardware is marked as Online.
- Click on an individual volume block in the bottom pane to highlight it, which updates the top pane view.
- Examine the File System, Capacity, and Status columns for each volume to record the current storage configuration.
- Right-click a volume and select Properties to open the detail dialog, which provides metadata about the volume without modifying its state.
- Review the information in the General and Hardware tabs, noting the manufacturer name and connection type if available.
- Close the Properties window and return to the main interface to conclude the inventory without selecting any destructive commands.
Interpretation of Observed Data
Successfully recording the inventory requires accurate interpretation of the data captured. When viewing the Disk Management window, a healthy volume will typically display a dark blue bar, indicating it is a primary partition. If a volume is part of an extended partition, the bar color might differ, signifying it acts as a container for logical drives.
A critical observation involves looking for unallocated space. This is represented by a black bar in the graphical view. Unallocated space is not formatted and cannot store data. Identifying this area is useful for understanding why certain capacity is not available in the File Explorer, even if the disk appears physically present.
When inspecting multiple disks, one might observe varying status labels. A disk appearing as Not Initialized should be noted as such. This indicates the system recognizes the hardware but has not assigned it a partition style. This is common for brand-new, unused hardware that has not been prepared for storage duties.
If a disk is labeled Offline, it may indicate a configuration preference or a connection issue. Recording this state is helpful, as it helps determine if the hardware is properly communicating with the motherboard. Do not attempt to toggle the state of an offline disk unless required for specific diagnostic documentation, as changing the state can trigger OS-level operations.
Boundary awareness is essential. For instance, if a partition is marked as the System Reserved partition, it is critical to leave it undisturbed. These partitions are managed by the operating system and are essential for booting. Inventory records should acknowledge their existence but emphasize their sensitive role in system stability.
Boundaries and Safety Protocols
Users must also avoid changing drive letters. While this might seem like a minor administrative task, it can break existing file paths used by applications. If a drive letter appears missing or incorrect, it is better to document the discrepancy rather than attempt to reassign it.
Understand that the Disk Management tool reflects the hardware as it exists at the moment of inspection. Changes in the physical environment, such as disconnecting an external drive, will cause the view to update dynamically. Users should be aware that the interface might refresh, and they should re-verify the state of the system if the view suddenly changes.
Do not engage with the partition style conversion features. Changing from MBR to GPT or vice versa is a destructive process that would erase data. Since the goal is read-only inventory, these options should be disregarded entirely during the analysis process.
Finally, ensure that all actions are performed within the administrative limits of the current account. While access to the tool is standard, some information might be restricted or display as empty if the user lacks the necessary permission levels. Acknowledging this limitation is part of an accurate inventory report.
Worked Examples of Inventory Assessment
In a second example, a user connects a 1TB external hard drive. The Disk Management tool shows it as Disk 1. The inventory note indicates it is initialized with the MBR style and contains a single partition with the drive letter E:. The file system is exFAT. This configuration is recorded as functional and accessible for storage purposes.
Another case involves a disk that shows as unallocated. The user notes that the disk is empty and has no partition style, identifying it as a candidate for future use without actually performing the initialization process. This demonstrates how to identify uninitialized hardware safely.
A final example involves a hidden partition that is not assigned a drive letter. The inventory report identifies it as a system-specific space, noting its small size and lack of a letter. By documenting these details, the user keeps a record of the complete disk footprint without modifying any of the internal storage structures.
These worked examples illustrate that inventory is about observation, not modification. By focusing on recording existing attributes—size, format, status, and assignment—the user gains a clear, accurate picture of the system storage without introducing any risk to data or partition integrity.
Storage
Note these before you change anything
Useful facts to have to hand while reading about reading a disk layout without changes.
- A current backup before any change
- Controller mode in firmware: AHCI, RAID or NVMe
- Storage controller driver name and version
- Drive health shown by the maker's own diagnostics
Storage: Reading and writing data
- File systemfiles and folders
- Storage stackvolumes and partitions
- Controller driverNVMe, AHCI or RAID
- Controlleron the board or a card
- DriveSSD or HDD
Frequently asked questions
How do primary partitions and logical drives differ?
On an MBR disk, a primary partition is an entry in the main partition layout; logical drives can exist within an extended partition. This is a layout distinction, not a rule about direct firmware access. GPT does not use that extended-partition and logical-drive arrangement.
Does Not Initialized always mean a new, empty disk?
No. It can describe a new disk, but unreadable or damaged partition information on a previously used drive can also lead to that status. Do not initialize a disk merely to clear the label. Cancel the prompt if the drive may contain information you need.
Can I inspect properties without changing the disk?
Opening and reading the relevant Properties tabs is an inspection task. Disk Management itself also contains destructive commands. Stay with the viewing steps, and avoid initialization, formatting, deletion or resizing. Do not infer that all actions in the window are safe because the first task was observational.
Where can I read the partition style?
In Disk Management, open the physical disk’s properties and look for the Volumes tab and Partition style field. Distinguish the disk label from a volume block before opening properties. Read the reported GPT or MBR value without attempting to convert the disk.