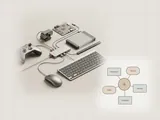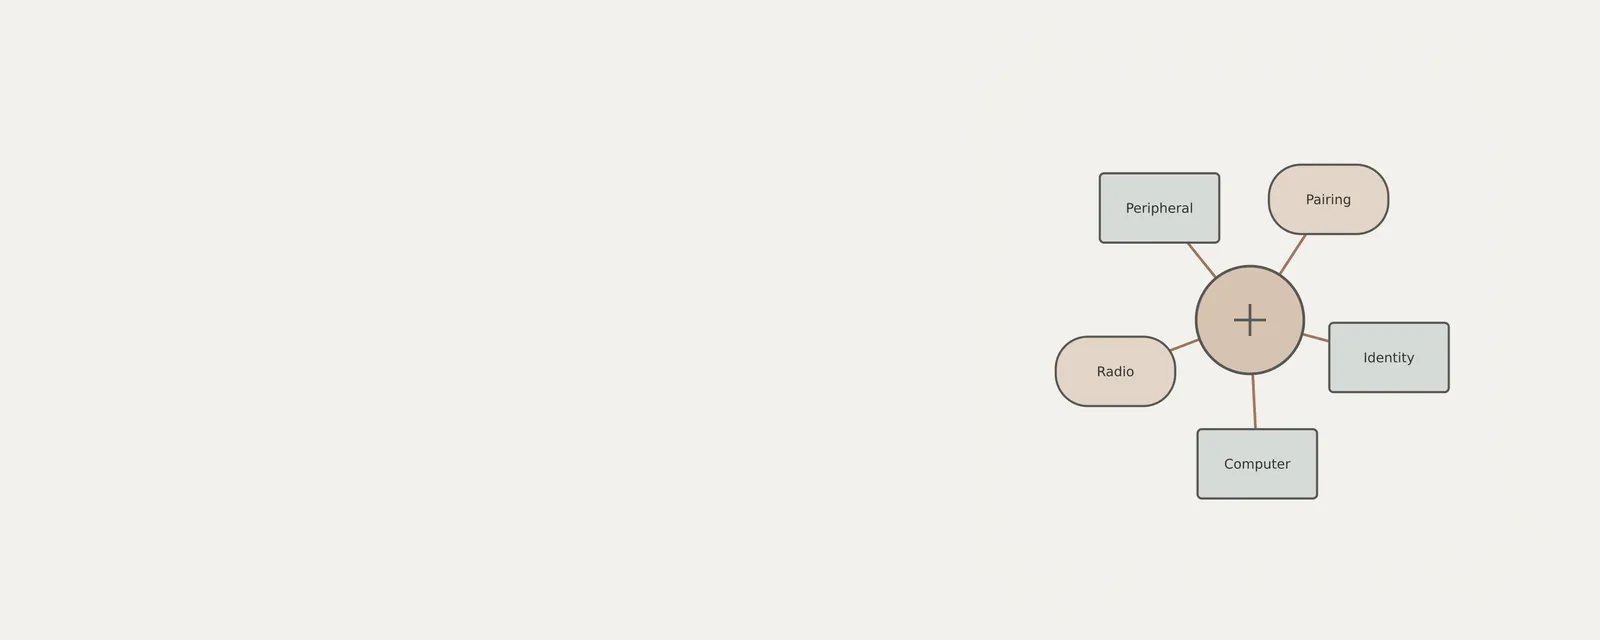
Bluetooth pairing creates a remembered relationship between a computer and an accessory. It is separate from making the accessory discoverable, and a paired device is not necessarily connected or actively in use. This article explains the Windows pairing controls, how to recognize the intended accessory and when to compare a code locally. Follow the accessory’s manual for its pairing procedure rather than guessing a button combination. Only pair equipment you own or have permission to use, and keep an existing input method available while adding a new keyboard or mouse.
Understanding Bluetooth Foundations
Bluetooth technology operates as a wireless standard designed for exchanging data over short distances using short-wavelength radio waves. In the context of Windows, this technology enables the computer to recognize and interface with compatible hardware, such as headphones, input devices, and specialized sensors. The system distinguishes between these connections based on profiles, which define how the device interacts with the operating system, whether as a human interface device or an audio output source. These profiles act as a communication layer that ensures the peripheral's capabilities are correctly interpreted by the host system, allowing for consistent data exchange and power management.
Verifying Hardware and System State
Before initiating a connection, it is necessary to verify that the Bluetooth radio is active within the Windows environment. The operating system provides centralized management of radio states, allowing you to toggle the function as needed to conserve battery or prevent unwanted signals. Disabling the radio is a standard practice when the device is not in use for extended periods, serving as a boundary for power consumption management. This state management is facilitated through the system interface, which provides clear feedback on whether the radio is ready to accept incoming connections or broadcast discovery signals to nearby hardware.
You can confirm the state of your Bluetooth radio by examining the interface indicators within the system tray. When active, the radio continuously broadcasts, allowing your computer to remain visible to nearby peripherals that are also in a ready state. The system interface provides a visual representation of this state, ensuring you are aware of whether the peripheral discovery process can proceed. If the radio appears inactive, the system might be in a power-saving mode, or the specific hardware component might require an initialization signal from the settings menu. Maintaining an awareness of these states is vital, as attempting to pair hardware while the radio is disabled will invariably result in a failed discovery cycle and potential confusion regarding the compatibility of the peripheral.
Operational Procedure for Device Integration
This procedure outlines the manual steps to pair a peripheral device with a Windows system. Labels and visual representations vary based on your Windows version and device configuration.
Before proceeding, consult the documentation provided by the manufacturer of the peripheral device to identify the specific button combination or switch required to enter its discoverable mode. Most devices utilize a light indicator or an audible signal to indicate that they are ready to broadcast their identity to nearby hosts. During this phase, ensure the peripheral has sufficient battery life, as insufficient power can lead to intermittent signal drops during the critical authentication handshake process.
- On the taskbar, select the Network, Sound, or Battery icon near the time and date.
- In the quick settings menu, locate the Bluetooth tile; if it is disabled, select it to turn it on.
- Identify the Bluetooth tile; if it is currently disabled, select it to toggle the radio to the On position.
- Engage the discovery mode on your external hardware according to its specific manufacturer instructions, ensuring it is within close proximity to your machine.
- Select the Manage Bluetooth devices chevron on the Bluetooth quick setting, then select the device under New devices.
- Review the list of identified hardware under the new devices section and select the entry corresponding to your peripheral.
- Verify the connection process by acknowledging any numerical confirmation codes that may appear on either the computer screen or the peripheral itself.
- Wait for the system to finalize the authentication process, ensuring the device status changes to indicate an active connection within the menu.
- Select the confirmation option to close the configuration interface and return to your primary desktop workspace.
- Confirm functionality by testing the device, such as typing on a keyboard or playing audio through paired headphones, observing the expected input or output behavior.
Interpretation and Signal Boundaries
Once a connection is established, the Windows environment automatically manages the link whenever the devices are within range. The term 'range' refers to the physical distance at which the radio frequency remains strong enough to maintain a consistent handshake between the devices. Environmental factors, such as physical obstacles, metallic barriers, or interference from other radio sources, can impact this boundary, causing the link to disconnect if the signal degrades beyond a specific threshold. These environmental dynamics mean that even if a device is paired, its connection quality may fluctuate based on its physical placement relative to the computer's radio antenna.
Utilizing Swift Pair for Streamlined Connections
Swift Pair in Windows is a feature designed to expedite the connection of compatible peripherals. When a device supporting this technology is placed into discovery mode in close proximity to your computer, the operating system detects the signal and generates a non-intrusive notification. This notification acts as an automated gateway, identifying the specific hardware and inviting the user to complete the integration with a single interaction.
This mechanism reduces the number of interactions required to establish a link. Instead of navigating through manual menus, you select the notification directly to authorize the pairing process. This is particularly useful for peripherals frequently moved between different workstations, as it eliminates the need to traverse multi-level menus repeatedly. Because this process is context-aware, it intelligently prompts for pairing only when it detects a device that is both compatible and currently seeking a host. Once the 'Connect' command is triggered, the OS handles the security handshake, mapping the new device to your system without further intervention.
Managing Peripheral Inventory
Maintaining a clean inventory of paired devices is critical for long-term system performance. Over time, accumulated entries for devices no longer in your possession can clutter the interface and occasionally lead to erroneous connection attempts or confusion in the device list. Periodically reviewing the list of currently paired devices allows you to remove entries that are obsolete, keeping the interface optimized for current usage. This hygiene practice is particularly relevant for users who frequently test different hardware or move devices across multiple workspaces.
Removing a pairing involves instructing the Windows environment to discard the security key associated with that specific peripheral. Once removed, the device will no longer automatically connect to your computer, and you must follow the initial pairing procedure again should you choose to re-integrate the peripheral at a later date. This removal process acts as a security measure as well, ensuring that your computer does not retain persistent access tokens for devices that may have been decommissioned or reassigned. Regularly scrubbing your device list ensures that your system remains focused on the hardware you actually use, reducing the risk of phantom connection requests that can occur when old devices are powered on nearby.
Hardware-Specific Considerations
Different categories of peripherals, such as printers and scanners, often require specific handling within the Windows interface. While standard input devices like mice and keyboards generally pair through the general settings, printers may involve a slightly different path through the 'Printers & Scanners' section to ensure that the necessary drivers and software associations are correctly identified by the OS. This distinction exists because printers require a two-part association: the physical connection via the radio and the logical installation of print services, which allow applications to address the device as a document processor.
This distinction is important because while the connection provides the physical link, the printing subsystem requires that the operating system correctly maps the device functions to the printer's specific capabilities. Always verify that your printer is listed within the appropriate device category in your system settings to ensure proper functionality after the initial handshake is completed. For advanced imaging hardware like scanners, this might involve additional dialogue boxes that allow you to define scanning quality or file output paths, which are not present for simpler devices like mice or basic headsets. By segmenting these peripherals within the settings, the operating system ensures that you have access to the full suite of configuration tools relevant to each specific type of hardware.
Worked Examples of Connectivity Management
Consider a scenario where you have multiple Bluetooth headsets. By understanding the priority in which Windows connects to previously paired hardware, you can efficiently switch between audio sources. If both a headset and a speaker are in range, the operating system generally attempts to connect to the most recently used device, unless you manually override this through the sound output settings. By manually selecting the desired output from the system volume menu, you can force the system to switch focus without requiring a full re-pairing procedure, which is a common misconception for many users.
USB & Peripherals
Note these before you change anything
Useful facts to have to hand while reading about pairing a wireless peripheral.
- Which port the device was in, and whether a hub is involved
- The device's name and status in Device Manager
- Power management settings on USB root hubs
- Any companion software the device relies on
USB & Peripherals: Input from a device (output devices run the other way)
- Devicekeyboard, mouse or pad
- Port or hubphysical connection
- Host controllermanages the bus
- Class driverfor example HID
- Applicationreceives the input
Frequently asked questions
Does a Bluetooth setting prove the radio is built in?
No. Windows may be using an integrated radio or an external adapter. The absence of a control does not by itself prove that the computer lacks the hardware. Compare Device Manager with the computer’s documented specification without assuming that a new adapter is required.
Why might my accessory not appear in the list?
It may not be discoverable, may be powered off, or may already be using another connection. Check the accessory’s documented pairing procedure and the computer’s Bluetooth setting. Capabilities differ by model; do not assume that every peripheral can accept several simultaneous hosts.
Must I remove unused pairings to prevent interference?
No. A remembered pairing does not inherently create radio interference. You can remove an accessory you no longer want this computer to reconnect to, but that is a management choice. Keep another working input method available before removing a keyboard or mouse you still use.
Can I connect several Bluetooth devices at once?
Often yes, such as a keyboard, mouse and audio accessory. The practical result depends on the radio, profiles, accessories and workload. Pair each intended device using its documented procedure, and do not treat a successful first connection as a guarantee for every combination.