Windows may offer several audio outputs at once: laptop speakers, headphones, a USB interface or an audio connection through a display. Choosing an output tells Windows where to send sound; it does not prove that speakers are connected at the other end. This article shows how to inspect the available destinations, select the one you intend to use, and compare the system selection with an application’s own settings. Keep the volume modest while checking a route, particularly when switching from speakers to headphones.
Understanding Windows 11 Audio Architecture
In Windows 11, the audio architecture operates by presenting a list of discovered endpoints to the operating system, which the user can then designate as the default output. These endpoints represent physical hardware components—such as integrated speakers, 3.5mm headphone jacks, USB audio interfaces, or HDMI-connected monitors—that translate digital signals into audible sound. The operating system maintains an active list of these devices, but availability depends on physical connectivity and hardware recognition by the system's underlying communication protocols.
Furthermore, modern Windows audio stacks prioritize efficient power management. Many devices enter a low-power state when not actively transmitting audio data to preserve energy, particularly in laptop hardware. Consequently, a slight delay in audio initiation when opening a new media source is a common characteristic of this architecture, rather than a sign of a device malfunction or communication failure between the software and the hardware.
Identifying and Selecting Output Endpoints
The primary method for managing audio outputs involves accessing the taskbar volume interface or the dedicated Sound settings menu. The taskbar provides a quick-access list of currently active devices, which is the most efficient way to switch between outputs on the fly. For a more granular level of control, including the ability to adjust individual output properties and monitor input levels, the System settings menu serves as the primary administrative panel. These labels may vary depending on the specific hardware manufacturer's terminology or the version of the Windows 11 interface.
An HDMI-connected display may appear as an audio destination even when it has no built-in speakers. Some displays pass audio to a headphone socket or another connected device. Check the selected destination and the display's documentation rather than assuming that a listed endpoint will produce sound on its own. Windows routing audio to an endpoint is different from confirming that an audible signal reaches a listener.
Users dealing with complex multi-monitor setups often encounter this, especially when docks are involved. The dock itself may present several audio endpoints, including a headphone jack on the front and HDMI/DisplayPort audio through the rear outputs. Managing these requires navigating to the Sound panel in Settings to toggle the specific output endpoint, ensuring that the software stream is synchronized with the actual hardware intended for monitoring the audio output.
Procedure: Managing Audio Output and Volume Levels
This procedure outlines the steps required to verify your active output device and ensure that volume levels are properly configured. Follow these steps sequentially to diagnose and correct common routing errors within Windows 11.
Observation: Upon selecting the correct endpoint, sound output should immediately transition to the chosen device. If the volume slider is adjusted, the changes should take effect instantaneously across the selected hardware. If the volume appears unmuted but no sound is produced, ensure that hardware-level mute switches on external speakers or headphones are in the 'active' position.
- Click the Speakers icon located on the right side of the taskbar to reveal the primary volume control slider.
- Locate the arrow symbol adjacent to the volume slider and click it to expand the list of all currently recognized audio output devices.
- Review the list to identify the target output; note that external monitors may appear as audio endpoints even if they lack built-in speakers.
- Select the intended audio device from the list; once selected, it becomes the default output for the system.
- Access the Volume Mixer by clicking the settings icon positioned to the right of the expanded volume control list.
- Inspect the volume bars for each individual application to ensure that none are currently set to zero or muted.
- Check for an 'x' icon next to any specific application volume bar; if present, click the speaker icon to unmute the application's audio output.
- Adjust the master volume slider and the individual application sliders to a comfortable, audible level.
Interpreting Audio Routing Results
When you select an output device, Windows updates the system-wide 'Default Playback Device.' This assignment dictates that all sound played by the system and applications will be routed through this specific hardware path. If the selection is modified and the expected sound does not emerge, it is often indicative of a mismatch between the software-selected device and the physical hardware that is actively receiving power. Always ensure the device is switched on and that physical cables are firmly seated in the correct interface jacks.
In scenarios involving multiple outputs, such as headphones and desktop speakers, the system may occasionally retain the last used device upon a reboot. Users should develop a habit of verifying the current selection before assuming a hardware failure. Furthermore, if an application was launched before a hardware change occurred, it may occasionally fail to route its audio to the new destination until the application is closed and restarted. This happens because some applications sample the available audio devices only at the moment of initialization, rather than listening for hardware state changes dynamically.
Advanced users can often mitigate this by checking the 'Advanced' sound options, where specific devices can sometimes be assigned to specific apps, effectively creating persistent routing paths that remain stable even when the default system playback device changes.
Physical Connection Boundaries
Hardware limitations are a common source of confusion in audio management. Many audio systems utilize a color-coded 3.5mm jack system: green typically denotes output, while pink denotes input. Plugging an output device into an input port will result in no sound, as the signal flow is strictly unidirectional. Additionally, the presence of headphones in a jack may automatically disconnect internal speakers on many laptop and desktop motherboards. This is a deliberate hardware design feature, not a software defect.
USB audio devices represent a separate category of hardware that functions independently of the standard analog sound card interface. These devices require the system to recognize a USB audio controller. If a USB device is not appearing in the list, the device may have entered a power-saving state or the OS may not have initialized the driver. Connecting these devices to a different USB port is a standard method to attempt re-enumeration.
When employing USB hubs, users should be aware that passive hubs can sometimes fail to pass the necessary power required for high-quality audio interfaces. Whenever possible, connect high-drain audio equipment directly to the primary ports on the computer chassis rather than through a secondary peripheral bridge.
Application-Level Volume Constraints
Even when the system-wide settings are correctly configured, individual applications—such as web browsers, media players, or communication software—frequently possess their own internal volume controls. These settings act as a secondary 'attenuator' in the audio path. If the system volume is at 100% but the application volume is muted or set at 5%, the perceived result is silence or very quiet audio. This behavior allows for nuanced control, such as keeping system alerts loud while keeping background media quiet, but it can lead to confusion if the user is unaware of the application's specific settings.
For complex tasks, users can open the Volume Mixer through the settings panel to see a granular view of every application currently requesting audio. This interface displays the volume status of each application relative to the master volume. If an application is not listed, it means it is not currently requesting or producing any audio output. Launching media or initiating a sound-emitting action within the application will typically cause it to appear in this list, allowing for independent management.
This separation is essential for managing professional workflows, such as streaming or audio production, where different streams need to be balanced precisely. By isolating individual software volume channels, Windows provides an interface that functions akin to a digital mixing desk, allowing users to modulate the output gain on a per-program basis without affecting the primary system output volume setting.
Worked Example: Troubleshooting HDMI Audio Routing
Consider a scenario where a user connects a computer to a monitor via an HDMI cable. The monitor displays the video, but the user expects sound to come from their desktop speakers connected to the computer's analog jack. Upon connection, Windows automatically switches the default output to the HDMI monitor, which may not have audio hardware, causing a loss of sound. The user is left wondering why their sound vanished.
When an output changes after connecting a device, compare the selected output in Windows and the application. Observing both selections helps distinguish routing behavior from assumptions about the device itself.
This also occurs when users swap between wireless Bluetooth headsets and wired interfaces. The system often prioritizes the most recently detected 'Default Audio' capable device. Consequently, if you are plugging in an HDMI monitor, the system effectively 're-maps' the audio to the display bus. Returning to the Sound settings to toggle the output endpoint manually is a necessary step that demonstrates the system's focus on user-selected pathing rather than hardware-automated guessing.
Audio
Note these before you change anything
Useful facts to have to hand while reading about choosing an audio output device.
- The default playback and recording devices
- Sample rate and bit depth in the device properties
- Enabled enhancements or spatial sound
- Driver name and version, and whether it is a built-in class driver or a vendor one
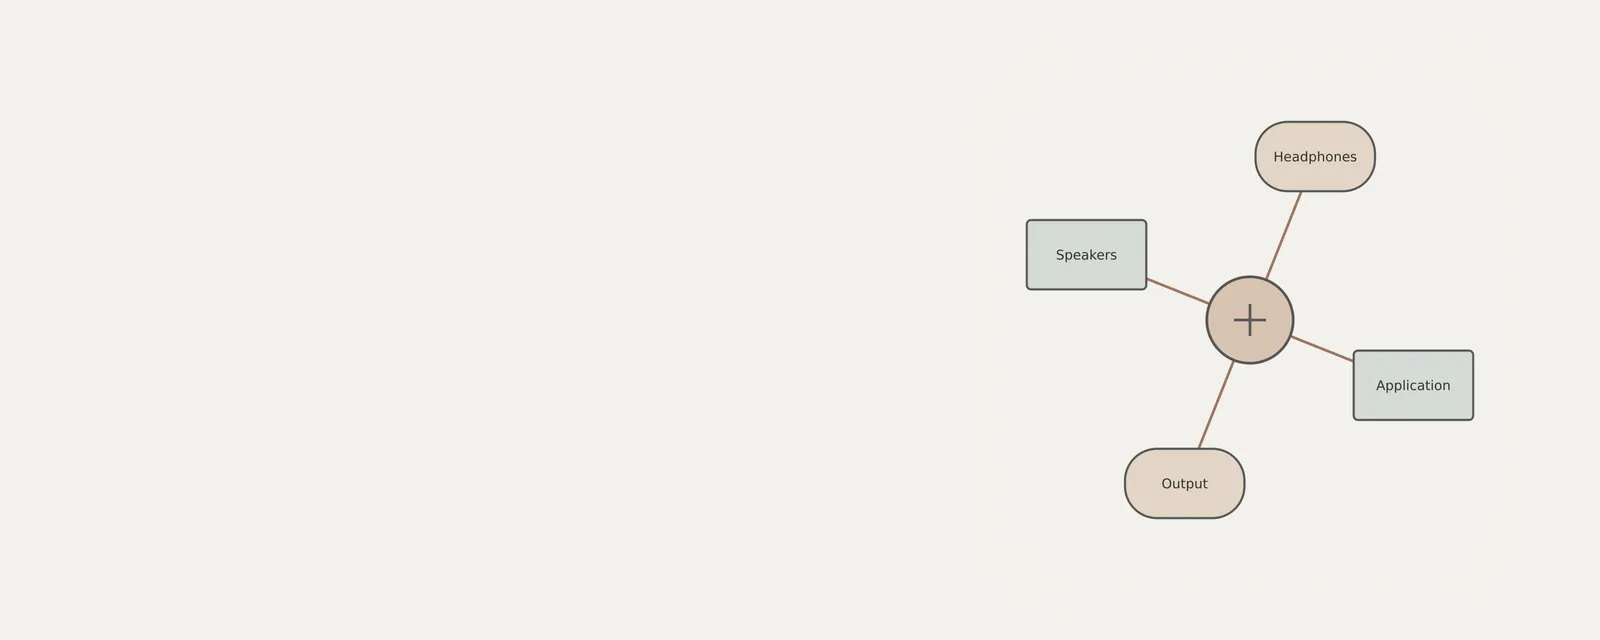
Audio: Playback (output); recording runs the other way
- Applicationplays a stream
- Audio enginemixes and resamples
- Audio driverbuilt-in class or vendor
- Codec or DACconverts digital to analogue
- Speakers or headphonesanalogue or USB
Frequently asked questions
Why does a display appear as an audio output?
A display connection such as HDMI can carry audio as well as video. The display might play it through speakers or pass it to another connection. Check the display’s documentation and physical audio path; a listed endpoint does not guarantee that sound will be audible by itself.
Why does one application use a different destination?
Some applications have their own output selector or may retain an earlier device choice. Compare that setting with the Windows selection before drawing conclusions about the hardware. Close neither a working session nor an application unnecessarily just to make all lists look identical.
Does connecting headphones always switch the output?
No. Behavior varies with the device and configuration. A plug may trigger detection, but an application can still use another route. Confirm the selected output and begin at a modest volume before playing private material or switching between headphones and speakers.
Can a successful output selection prove the speakers work?
No. It shows where software is sending audio, not that every part of the physical path is functioning. The destination may have its own volume or mute control. Use ordinary listening observations alongside the selection, without treating the setting as a complete equipment test.