With several screens connected, it is easy to read a setting for the wrong display. Windows uses numbers to distinguish screens within the current arrangement, but those numbers are not model identifiers and can change after reconnecting equipment. This article shows how to identify the physical screen you are reading, select it in Settings and inspect its resolution and refresh information. A short inventory can then connect each physical display with its reported settings. The process is observational; it does not require changing drivers or rearranging cables.
Configuring Refresh Rate Metrics
The refresh rate is defined as the frequency of screen updates, measured in Hertz (Hz). For instance, a 60Hz setting processes 60 updates per second, establishing the fluidity of all visual motion. Adjusting this value directly impacts how the operating system handles high-motion content. In competitive gaming, high frequencies are preferred to reduce screen tearing and improve response times, while professional creative tasks benefit from consistent, stable frame delivery to reduce eye fatigue.
When accessing the configuration interface, the system displays only the rates verified as compatible with the current monitor and cabling. If a monitor is capable of 144Hz but is connected via a cable that lacks sufficient bandwidth, the system will effectively cap the output at a lower, available frequency. Additionally, users must be aware that selecting a rate marked with an asterisk may prompt the system to automatically adjust the display resolution to maintain signal stability.
- Select the Start button and open the Settings menu.
- Navigate to the System category within the sidebar.
- Click the Display option to view your primary visual settings.
- Scroll down to find and select Advanced display.
- Choose the specific monitor from the display selection menu if multiple devices are attached.
- Locate the Refresh rate dropdown to view available options.
- Select the preferred frequency from the populated list.
- Verify the new rate is active by observing the display status panel.
Dynamic Refresh Rate Implementation
Windows 11 features Dynamic Refresh Rate (DRR), an automated mechanism that modulates the refresh frequency based on current activity. This feature intelligently alternates between high rates during performance-sensitive tasks, such as high-speed gaming, scrolling, or stylus interaction, and lower rates during static viewing. This dual-purpose management ensures users enjoy maximum visual fluidity when needed while extending battery longevity during standard productivity workloads.
To utilize DRR, the hardware must specifically enable Variable Refresh Rate (VRR) and operate at a minimum of 120Hz. Missing power or DRR options can depend on OS, configuration, policy, or drivers, not only hardware. Because DRR dynamically scales based on activity, it operates seamlessly in the background. However, if a user observes that specific games run at an unexpectedly low frame rate, disabling the toggle is the primary method to restore static high-refresh performance. This manual override ensures that performance remains constant for latency-sensitive applications where dynamic switching might be counterproductive.
- Open the Settings app and navigate to System.
- Select the Display category.
- Click on the Advanced display sub-menu.
- Locate the Dynamic refresh rate toggle.
- Click the toggle switch to enable or disable the feature.
- Confirm the change takes effect by observing visual smoothness during varied tasks.
- Disable this setting if your primary software requires a locked, high-frequency refresh rate.
Troubleshooting Hardware Constraints
Common display issues often stem from physical limitations rather than OS configuration errors. The refresh rate list is strictly populated based on the Electronic Data Display (EDID) information reported by the monitor. If the expected high-refresh options are absent, the issue typically resides in the physical chain: the monitor panel, the cable standard (e.g., HDMI 2.1 or DisplayPort 1.4), or the computer's graphics output port. A cable that does not meet the necessary technical standard will act as a bottleneck, restricting resolution and frequency choices regardless of software settings.
Furthermore, intermediate hardware such as USB-C docks or signal splitters often introduce their own signal limits. When performing diagnostics, disconnect any intermediary devices and connect the monitor directly to the computer to isolate the hardware limitation. By systematically verifying each component in the physical signal path, you can determine if a cable or port upgrade is required to achieve your target resolution and refresh rate specifications.
- Inspect the display cable for version labels indicating bandwidth capability.
- Disconnect any intermediate hubs or docks to test direct connectivity.
- Verify that the monitor's built-in OSD menu is set to allow high-frequency modes.
- Check that the display cable is fully inserted into both ports.
- Re-examine the Advanced display settings to see if new rates appear after a direct connection.
- Consult the display manufacturer’s documentation to confirm the specific port accommodates your target Hz.
Visual Artifacts and Misinterpretations
Users frequently mistake lower refresh rates for GPU failure or cable damage. While high refresh settings minimize blur, an incorrectly configured output often results in ghosting or trails during rapid movement. Distinguishing between display settings and actual hardware faults requires evaluating whether the jitter persists across different applications. If motion stutter occurs only in specific software, it is likely an internal frame-pacing mismatch rather than a monitor refresh limitation.
Furthermore, perceived screen tearing occurs when the refresh rate fails to sync with the frame output from the rendering engine. This phenomenon creates horizontal lines appearing across the screen during intense gameplay. Adjusting the refresh rate is a valid mitigation, yet users must observe whether the issue stems from inconsistent frame delivery. If tearing persists at high settings, the monitor might lack synchronization technologies like Variable Refresh Rate, leading to visible temporal discrepancies.
- Observe if motion jitter occurs consistently across multiple desktop windows.
- Compare refresh performance during static tasks versus high-motion video playback.
- Note if horizontal tearing lines appear during rapid camera rotation in software.
- Examine if the stuttering originates from the rendering engine or the display.
- Toggle vertical synchronization within software if hardware-level refresh rate adjustments fail.
Avoiding Common Comparative Pitfalls
A common error involves assuming that all panels perform identically at identical Hertz values. While the frequency indicates potential responsiveness, pixel response time remains a distinct metric governing clarity. A 144Hz panel with slow pixel transition speeds will yield more blur than a 120Hz display with rapid response transitions. Users should avoid comparing raw refresh numbers without accounting for panel technology, as different display architectures exhibit unique motion clarity characteristics regardless of the software-selected refresh rate.
Another pitfall involves equating system-wide refresh settings with application-specific performance caps. Simply selecting a higher value in display settings does not force every program to render at that speed. Software often enforces its own internal frame rate limits to maintain stability. Users should verify that individual application settings align with their intended visual output, ensuring the monitor configuration does not become a bottleneck for software that is otherwise configured for maximum performance.
- Review the monitor specifications for response time metrics beyond refresh rate.
- Verify internal frame limit settings within individual applications.
- Ensure the monitor display mode matches the intended resolution to prevent downscaling.
- Check that background processes are not competing for display bandwidth.
- Validate if the panel technology impacts motion clarity at higher frequencies.
Safe Observational Practices for Display Stability
Maintaining display health involves recognizing the limitations of thermal output and signal integrity. When testing various refresh configurations, allow the hardware a few minutes to stabilize after applying changes. Sudden signal loss during transition between modes is often a temporary handshake adjustment, not a permanent error. If the screen remains dark for more than ten seconds, the system usually reverts to the previous stable state automatically to prevent signal mismatches or potential interface blindness.
Long-term stability requires monitoring for visual inconsistencies that indicate bandwidth saturation. If a display exhibits intermittent flickering or colored dots after a refresh rate change, the signal is likely degrading due to insufficient cable shielding or length. Such visual noise should be treated as a warning to revert to a lower, stable frequency. Observing these symptoms early prevents cumulative strain on internal components and ensures consistent, long-term operation of the visual output path.
- Wait for the display to auto-revert if an invalid signal configuration is chosen.
- Monitor the connection for flickering which indicates potential bandwidth saturation.
- Note if colors or brightness shift unexpectedly when changing frequency modes.
- Check for visual noise which suggests cabling is insufficient for high frequencies.
- Observe the screen for a short duration after applying changes to ensure stability.
Keep a simple display inventory
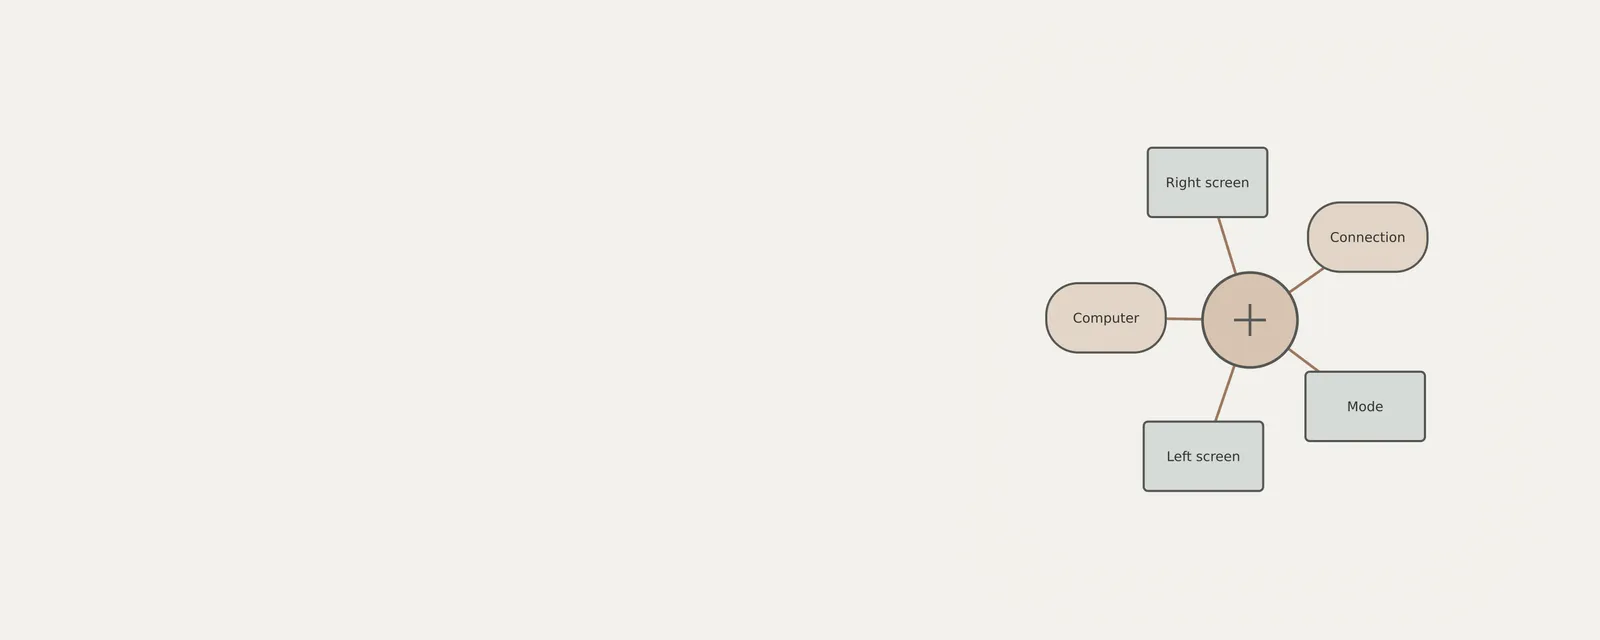
A useful inventory connects each physical screen to its selected entry in Settings without treating the screen number as a permanent identity. On paper, describe the screen by its position and a visible feature, such as the larger panel on the left. Add the connection type only if you can identify it confidently from the cable or device documentation. An adapter can change the connector presented at one end, so record both ends when that distinction matters.
For each screen, record the resolution and refresh rate shown for that selected display. Avoid combining a resolution from one screen with a rate from another: that creates a mode combination you have not actually observed. If you later disconnect a dock or rearrange cables, repeat the identification process before comparing the records. Keep serial numbers and other unique identifiers private; a general reading exercise does not require publishing them.
Display & Graphics
Note these before you change anything
Useful facts to have to hand while reading about identifying connected screens.
- Current driver version and date from the adapter's Driver tab
- Resolution, refresh rate and scaling for each monitor
- Which port and cable each display uses
- Any per-application graphics settings you changed
Display & Graphics: Drawing a frame (output)
- Applicationrequests drawing
- Graphics APIfor example DirectX or Vulkan
- Display driveruser and kernel parts
- GPUrenders the frame
- Monitorover the display cable
Frequently asked questions
Are Windows display numbers permanent model identifiers?
No. They distinguish displays within the current arrangement and can change after equipment is reconnected. Use Identify to connect a number to the physical screen you are reading. For an inventory, also note its position and model information from the device’s own documentation.
Why do two identical-looking displays show different options?
They may use different ports, cables, adapters or settings, and visually similar products can have different revisions. Read each selected display’s information independently. Do not copy one screen’s settings into your notes for another simply because their enclosures look alike.
Do I need to move cables to inspect a screen?
No. The inventory procedure uses the connections already in place. Select the display in Settings and read the information Windows reports. Unplugging a dock or cable can change the arrangement and interrupt work, so it is not part of this observation exercise.
What details are useful in a private display record?
Record the physical position, the Windows number for that session, and the labeled resolution and refresh-rate fields. Add a connection description when you can identify it confidently. Keep serial numbers private and repeat identification after reconnection rather than assuming the previous numbering still applies.